


 Manage booking
How to Photograph the Northern Lights (Even with a Phone)

Drive Reykjavik team · 5 min read · September 2026
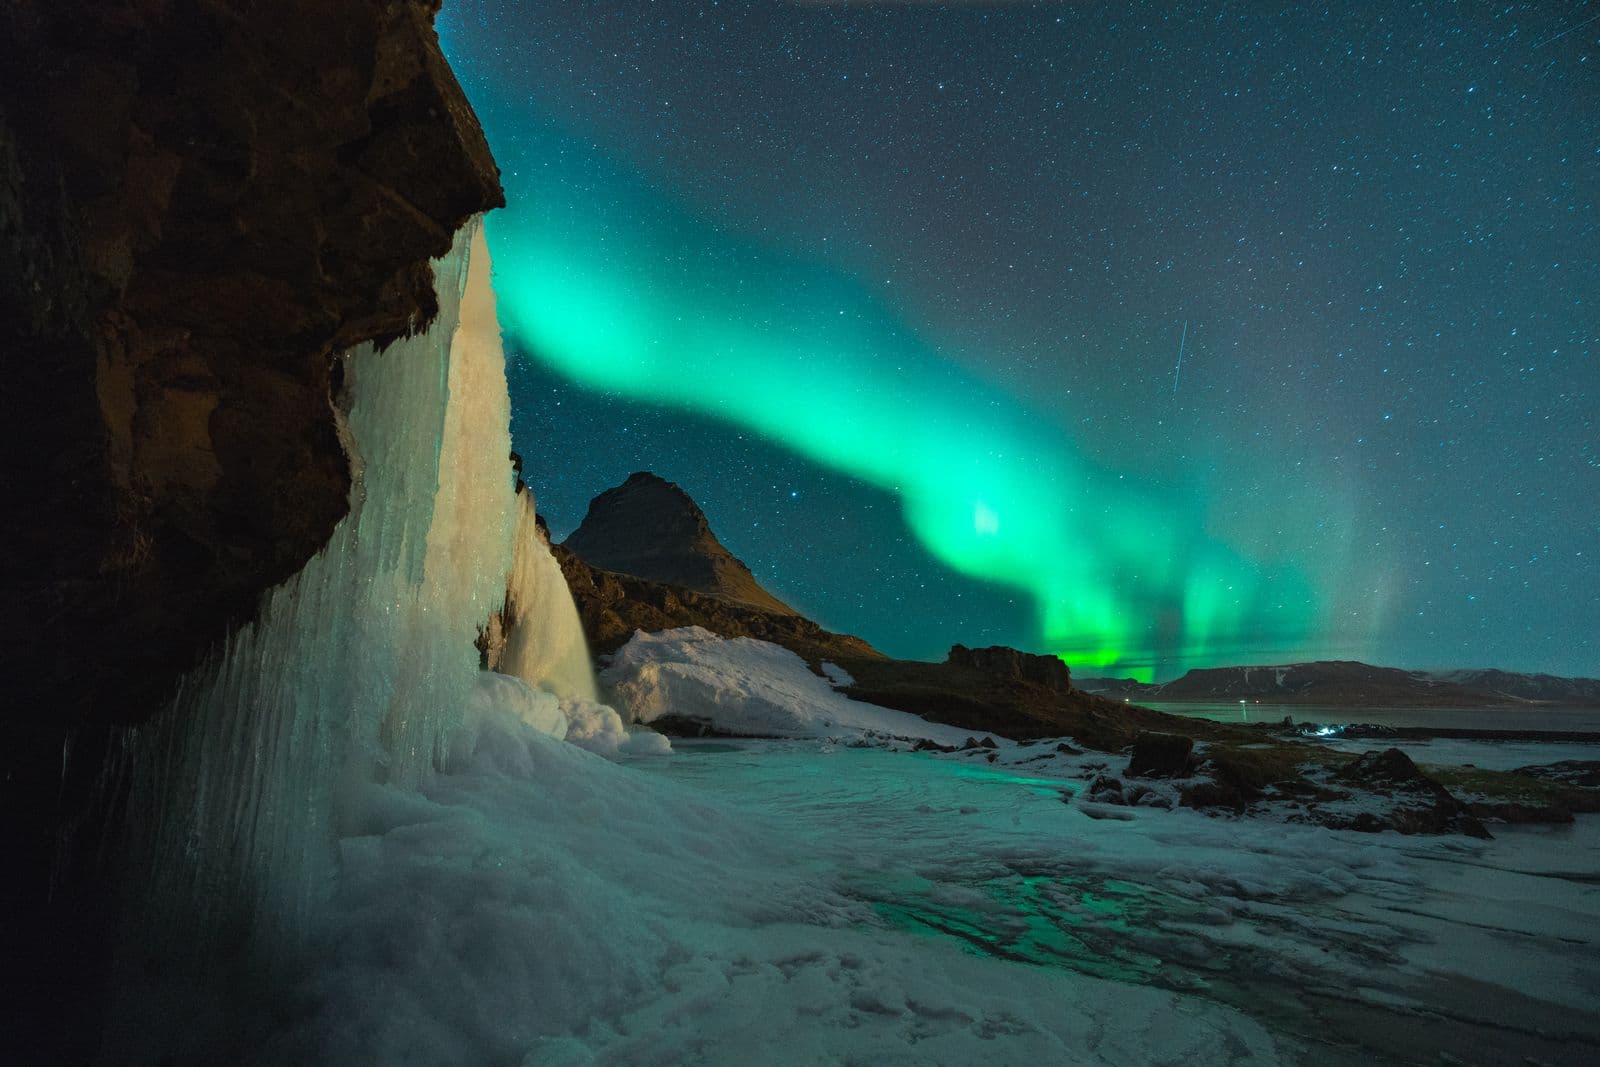
Learning how to photograph the northern lights is mostly about patience and preparation. The lights themselves can never be guaranteed, but if they appear you will want to be ready: a steady camera, the right settings and warm fingers make the difference between a blur and a picture you keep.
Set realistic expectations
The aurora depends on solar activity and clear skies, and nobody can promise a sighting. To the eye the lights often look paler and greyer than in photographs, because cameras collect light over several seconds. Do not be disappointed if the sky looks different to the pictures you have seen online; a long exposure shows more than your eyes do.
Our northern lights guide explains when and where to look, and our article on the best time to see the northern lights covers the season.
What to bring
- A tripod, or any stable surface, because exposures last several seconds.
- A camera with manual controls, if you have one; a modern phone also works.
- A wide-angle lens with a wide aperture, if you use a camera.
- Spare batteries kept warm inside your jacket; cold drains them quickly.
- Warm layers, gloves and a hat, because you will stand still for a long time.
- A small red torch, to protect your night vision.
Camera settings to start with
Every camera and every aurora is different, so treat these as starting points and adjust after the first test shot.
- Put the camera on a tripod and switch to manual mode.
- Open the aperture as wide as it goes.
- Start with a shutter speed of around 5 to 15 seconds; use shorter times if the lights are moving fast.
- Start at ISO 1600 or 3200 and raise or lower it depending on the brightness.
- Switch to manual focus and set it to infinity, then check with a test shot of a bright star.
- Turn off flash and image stabilisation on the tripod.
- Use a 2-second timer or a remote release so the shutter press does not shake the camera.
Photographing the aurora with a phone
Modern phones can capture the aurora surprisingly well if you give them a stable base. Many have a night mode that takes a longer exposure automatically.
- Prop the phone on a tripod, a rock or your car roof so it does not move.
- Turn on night mode and tap to focus on a bright point, or on the horizon.
- Use the timer so that pressing the button does not shake the phone.
- Keep the phone warm until you need it, as batteries drain faster in the cold.
- Do not zoom digitally; crop later instead.
Composition and location
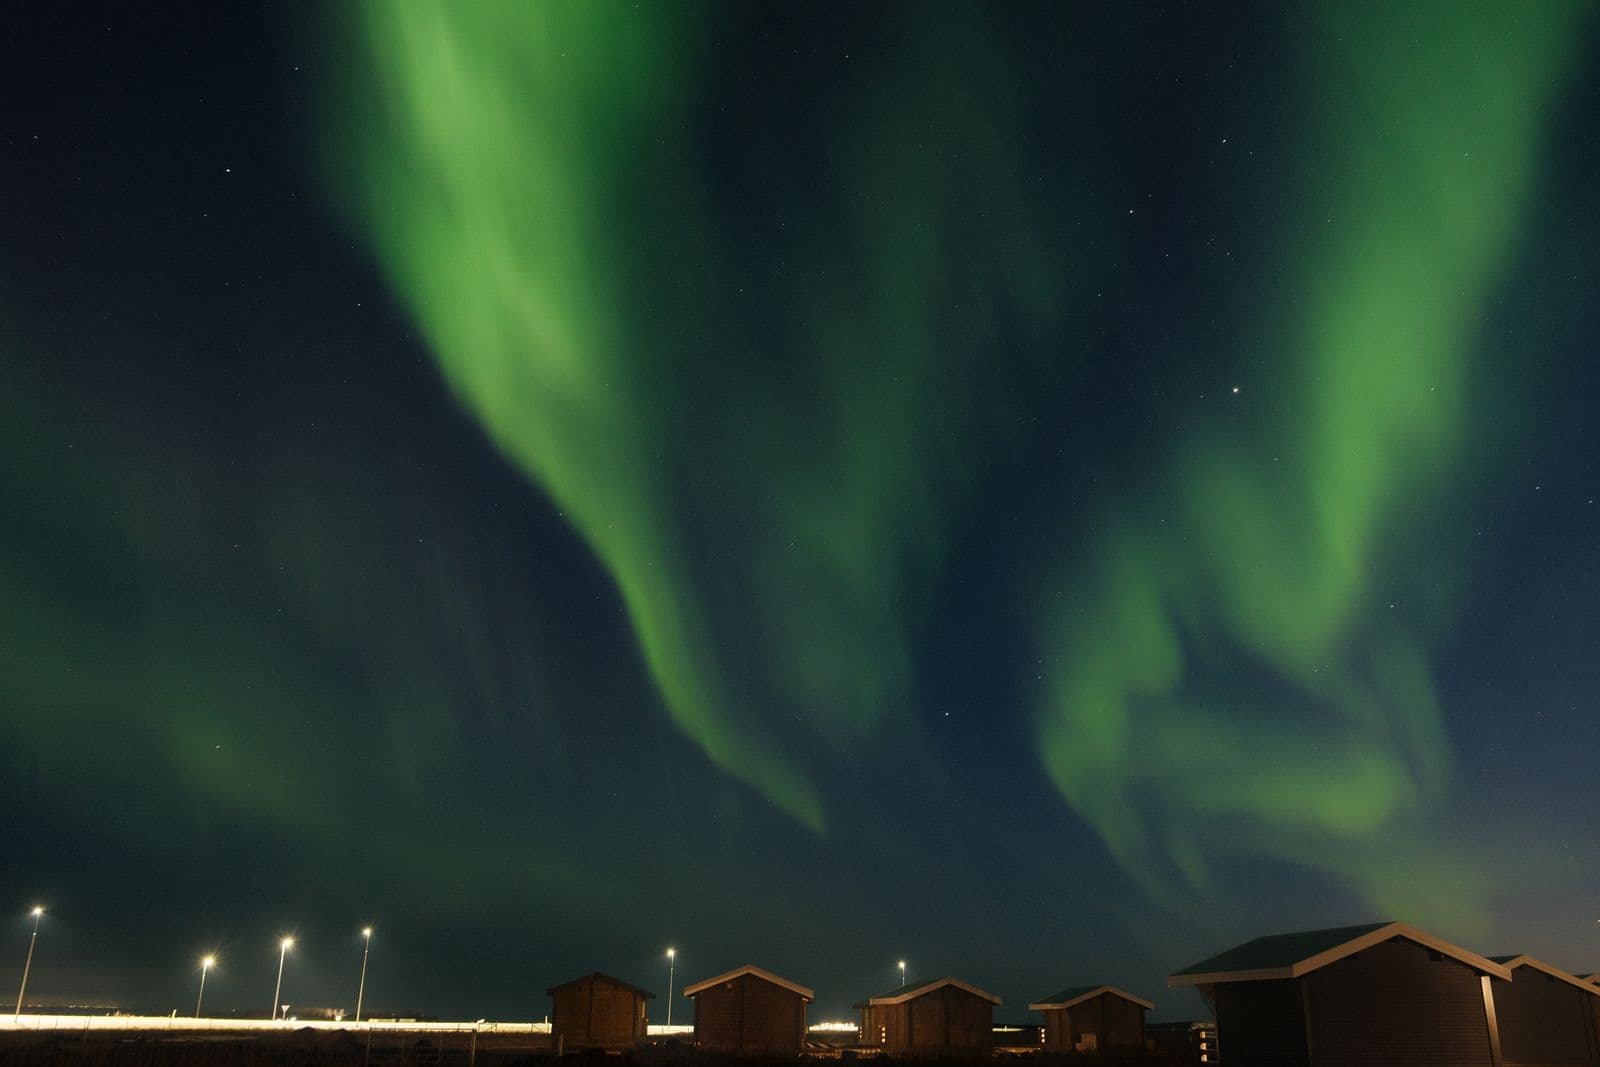
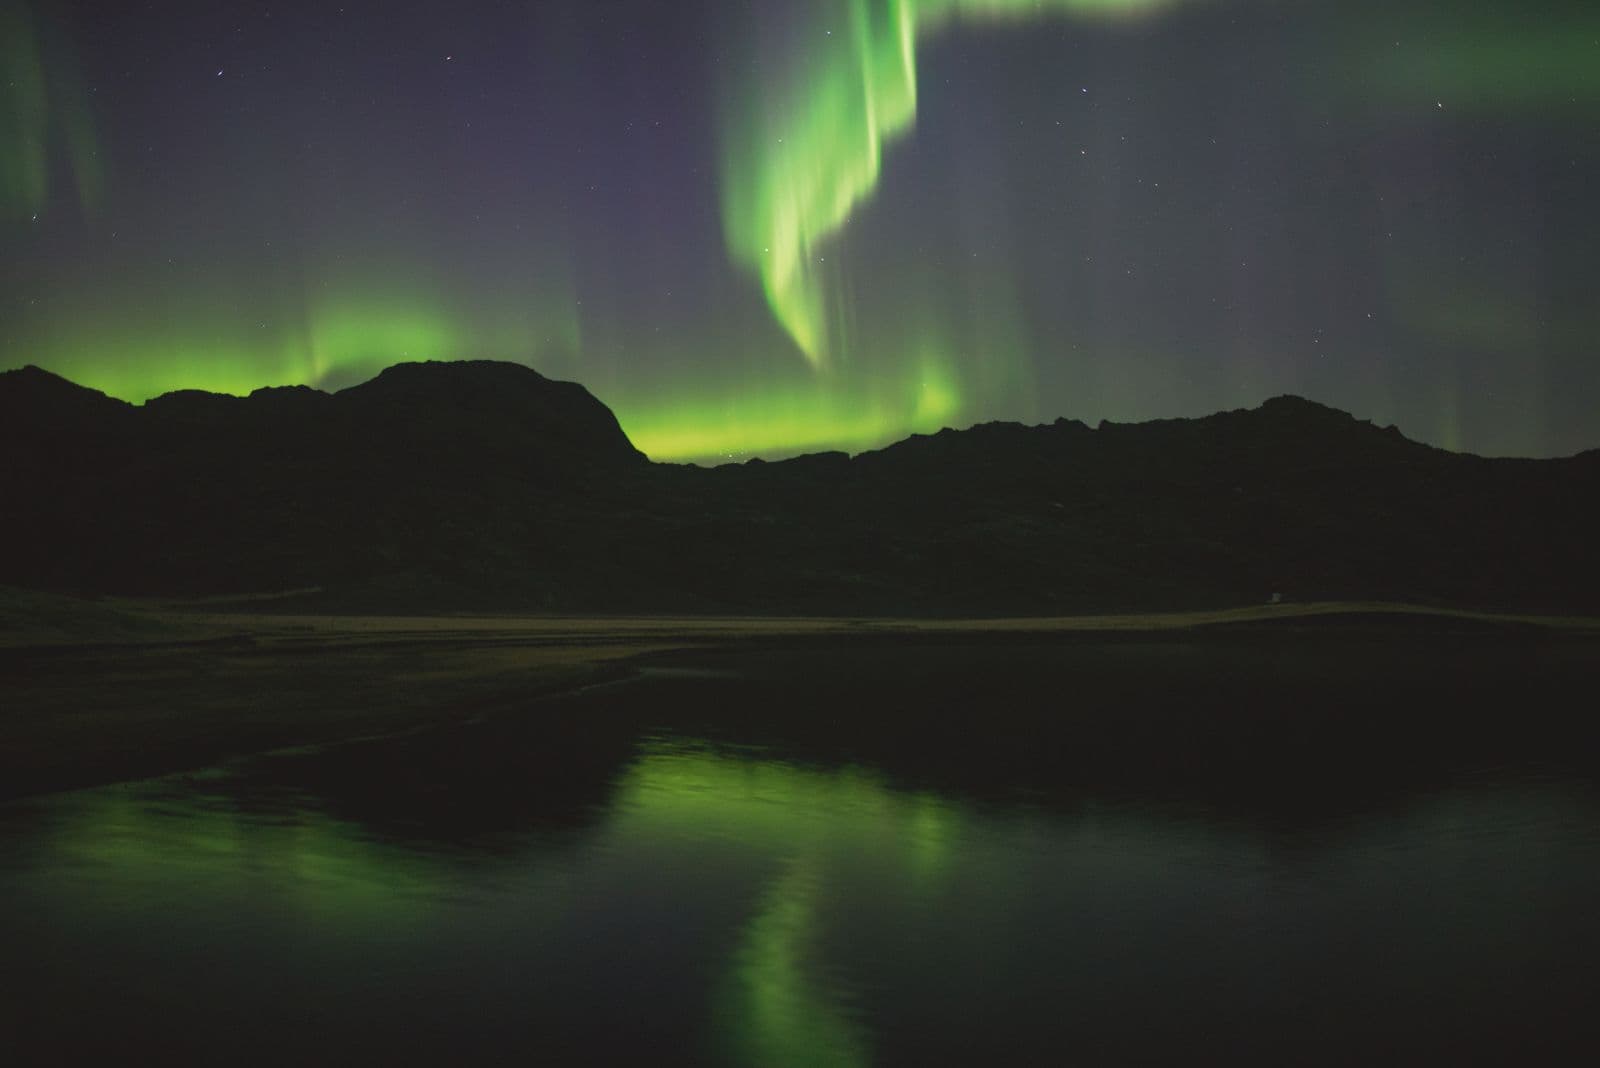
The best aurora pictures include something in the foreground: a mountain, a lake, a cabin or the road. Look for dark places away from streetlights, and a clear view to the north. The more of the sky you can see, the better your chances.
- Get away from city lights, which wash out the sky.
- Face north, but keep an eye on the whole sky.
- Check the cloud forecast as well as the aurora forecast.
- Take photos even if the lights seem faint; the camera may see more.
- Never stand on a road or in a place where cars cannot see you.
Why go with a driver
Chasing the lights means driving in the dark and in winter weather, often away from towns. With a private tour your driver watches the road and the forecast while you keep your eyes on the sky, and you can stay out as long as the conditions allow. If you want to know more, read our winter guide.
Common mistakes to avoid
- Handholding the camera: exposures of several seconds need a tripod or a solid surface.
- Using flash: it does nothing for the sky and ruins your night vision.
- Leaving the screen bright: a bright display spoils your night vision, so dim it or use night mode.
- Ignoring the cold: batteries can shut down quickly, so keep spare power inside your jacket.
- Giving up too early: the aurora often comes and goes, so stay for a while if the sky is clear.
- Staying in the city: light pollution reduces what you can see.
It also helps to look after yourself. Standing still in the cold for an hour is harder than it sounds, so bring a hot drink and extra layers, and stay somewhere safe from traffic. A comfortable photographer is a patient one.
Finally, take a moment to put the camera down. The lights can change within seconds, and many people say that the memory of seeing them with their own eyes is better than any picture. Take some photos, then enjoy the show.
FAQ
Yes, if the phone is steady and has a night mode or long exposure setting. A tripod or a solid surface makes a big difference.
Start with the widest aperture, an exposure of roughly 5 to 15 seconds and ISO 1600 to 3200, then adjust to the brightness of the lights.
A camera collects light over seconds, so it often shows more colour than your eyes can see in the dark.
No. Nobody can. They depend on solar activity and clear skies, so plan more than one evening if you can.
Travel tips
More in Northern Lights


 Northern Lights
Seeing the Northern Lights in Iceland: When, Where and How
A realistic guide to the northern lights in Iceland: the season, what you need for a sighting, how to read the forecast and how to stay safe on dark winter roads.
Read more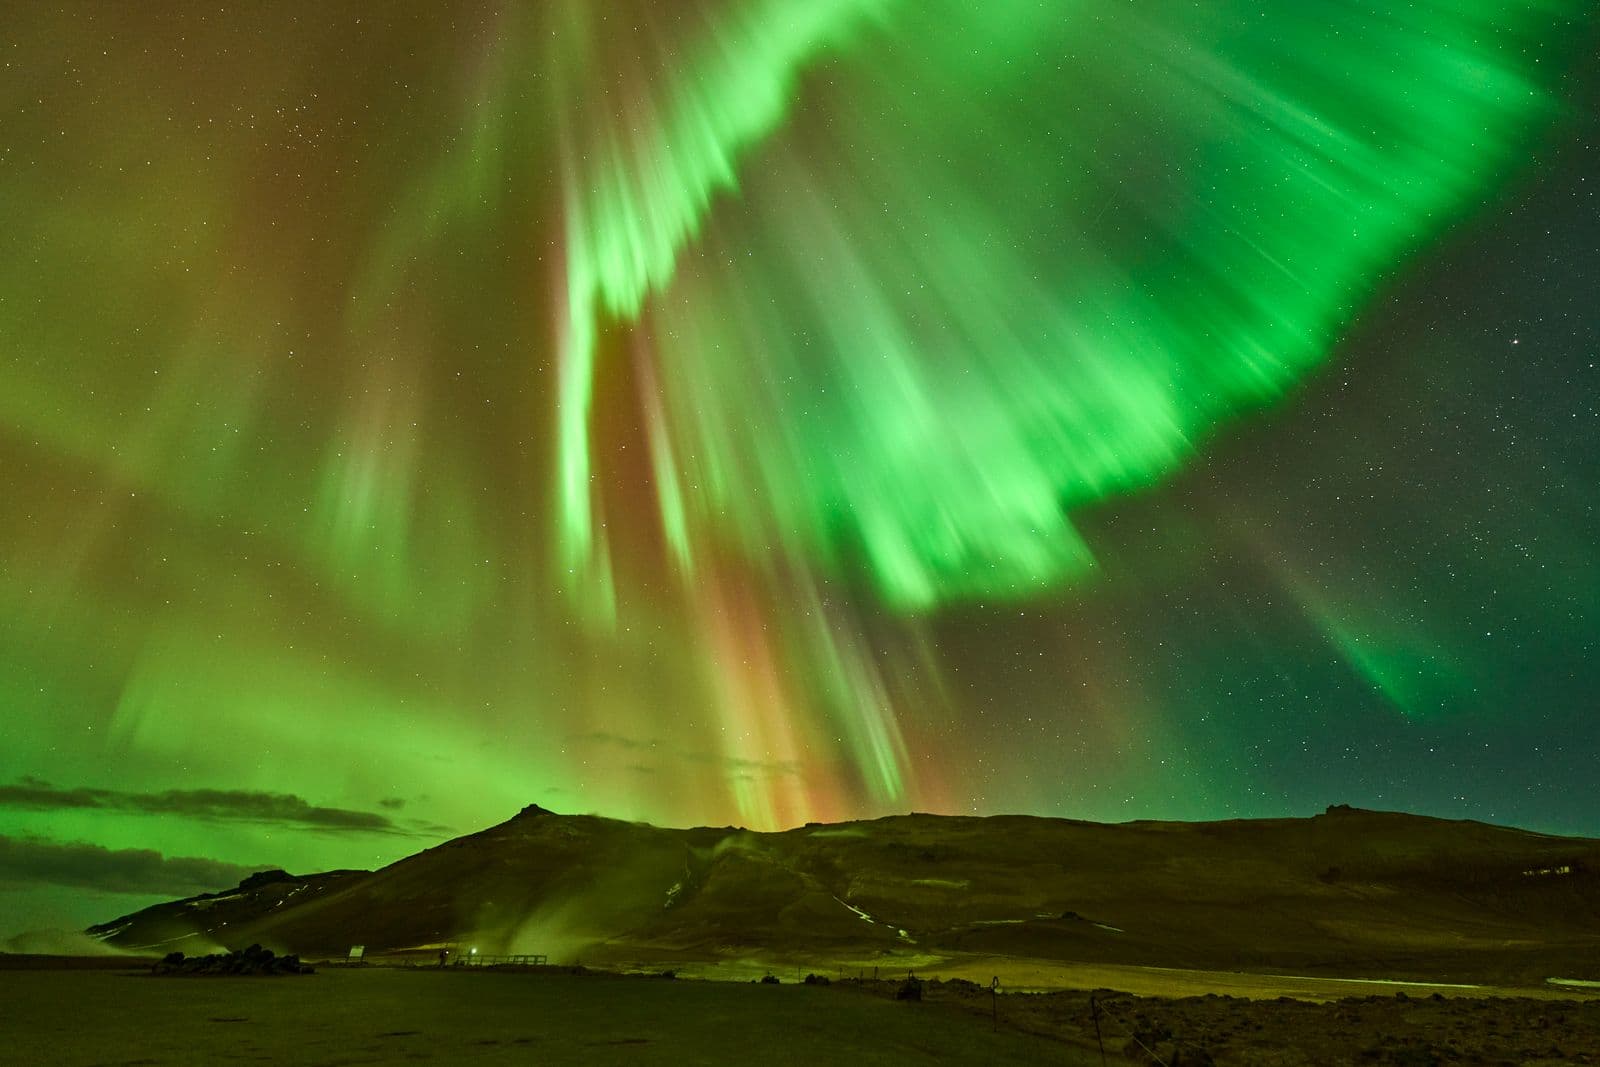 Northern Lights
The Best Time to See the Northern Lights in Iceland (Month by Month)
When is the best time to see the northern lights in Iceland? A month-by-month look at the dark season, what affects your chances and why nobody can promise a sighting.
Read more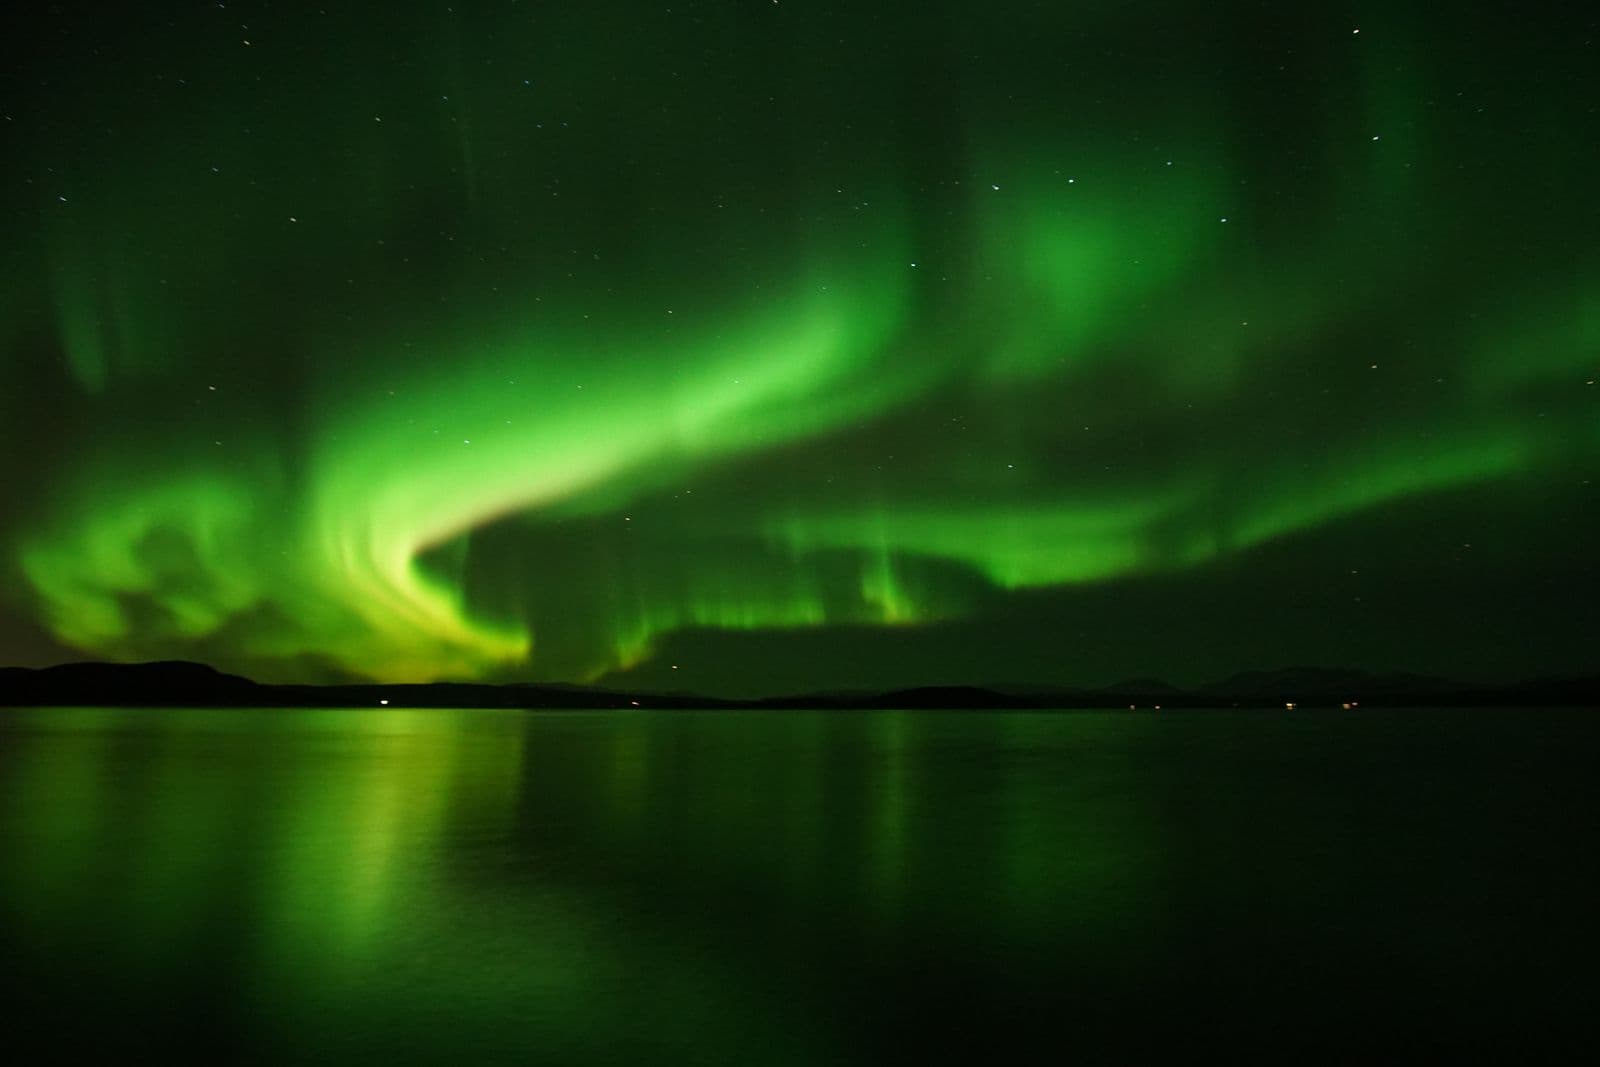 Northern Lights
How to Read the Northern Lights Forecast in Iceland
Aurora activity, cloud cover and darkness all matter. Learn how to read the northern lights forecast in Iceland, what the numbers mean and how to plan around them.
Read more